How to File a Roof Insurance Claim After a Storm
A Step-by-Step Guide for Texas Homeowners
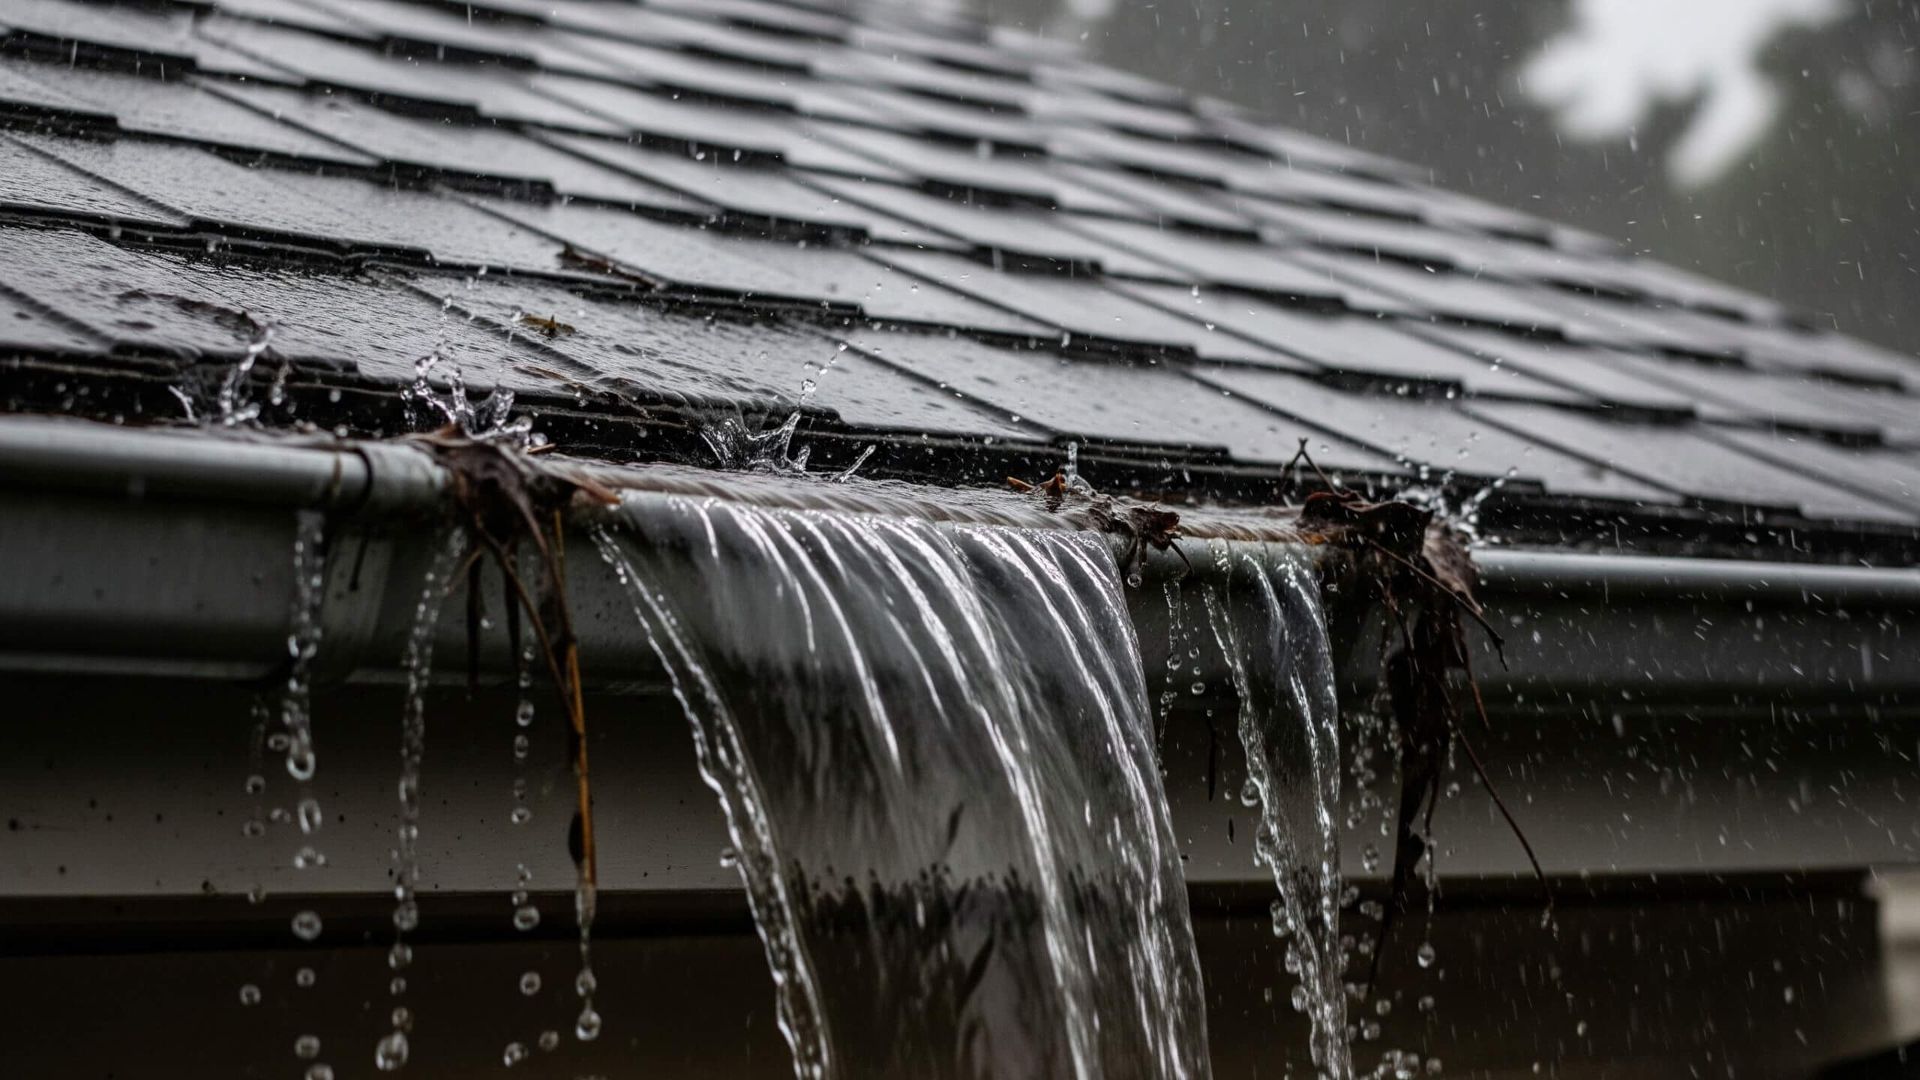
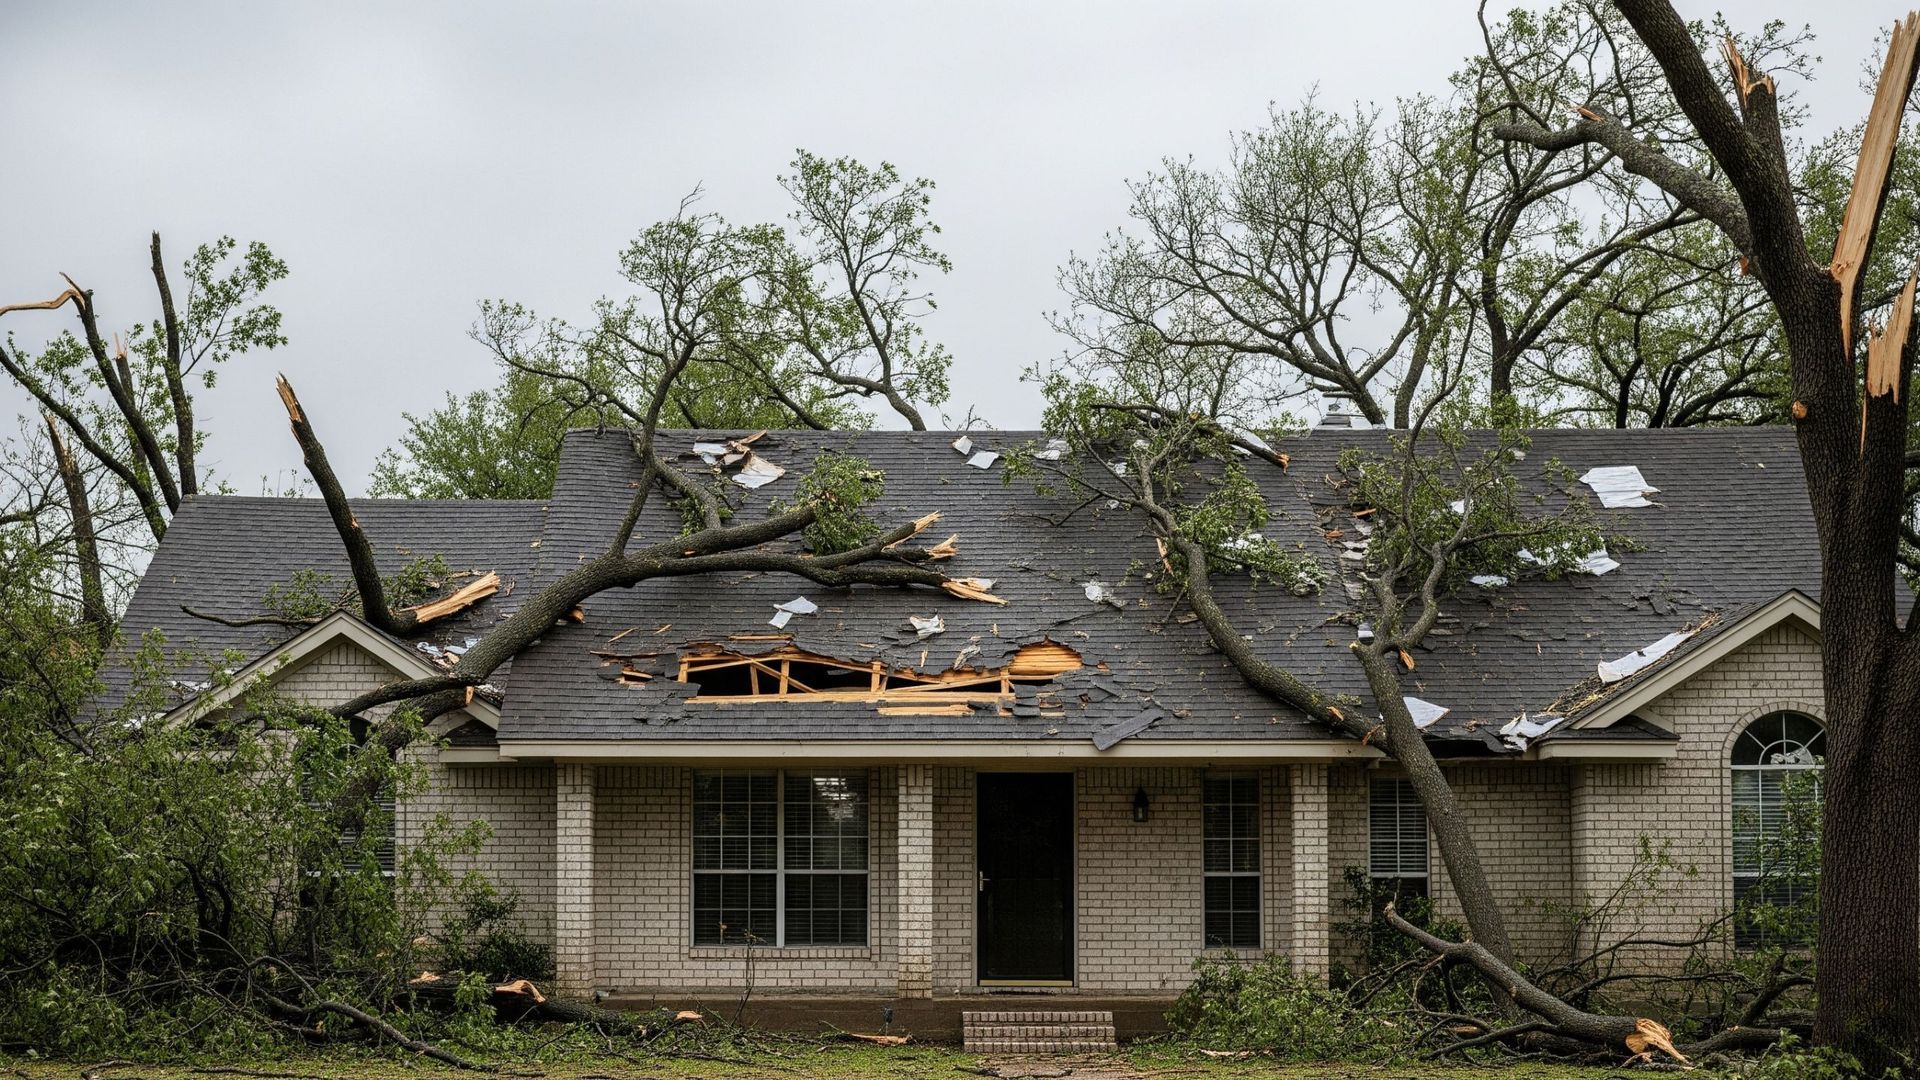
When a storm hits your home in Conroe, Montgomery, or surrounding Texas counties, your roof often takes the worst of it.
From fallen branches and torn shingles to hidden leaks and structural damage, the aftermath can be overwhelming. That’s why knowing how to file a roof insurance claim is essential, before you’re under pressure.
Let’s walk through what every Texas homeowner should do after a storm to file a successful roof damage claim.
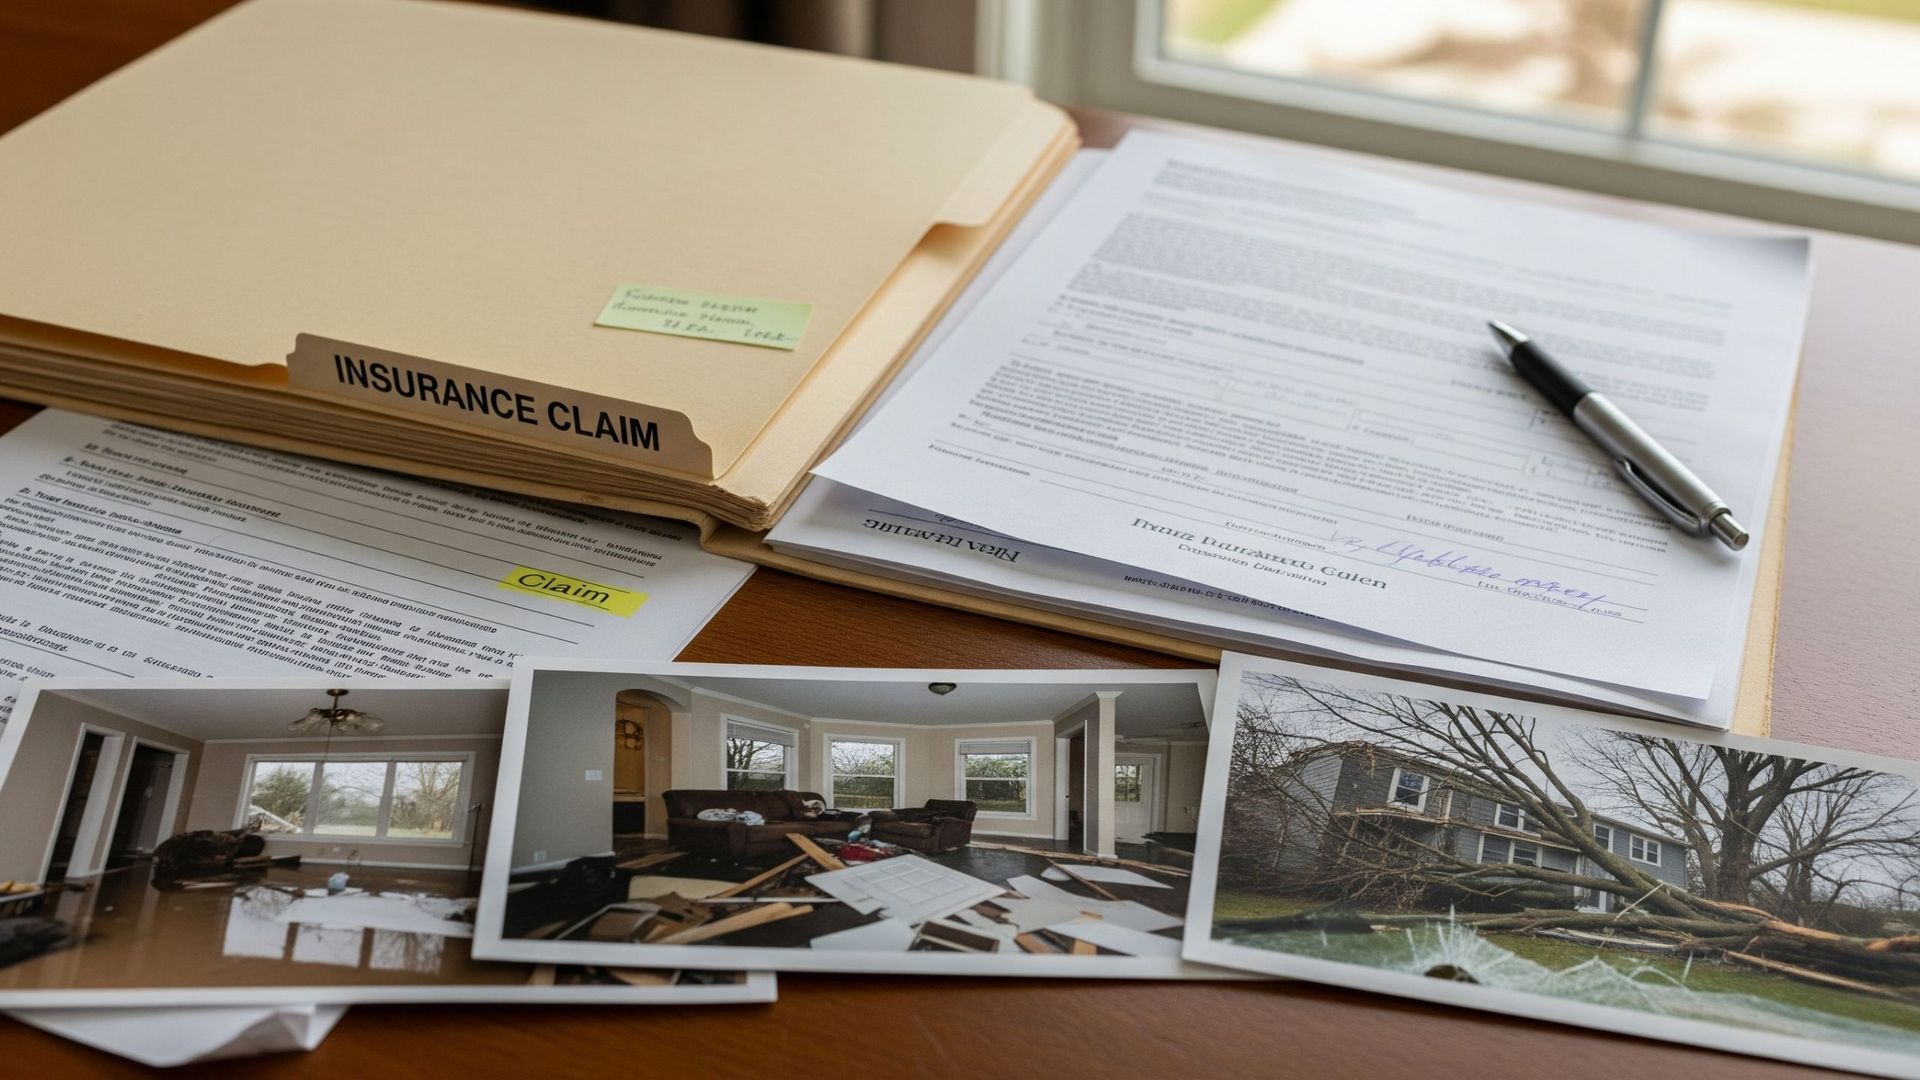
Step 1: Document the Damage Immediately

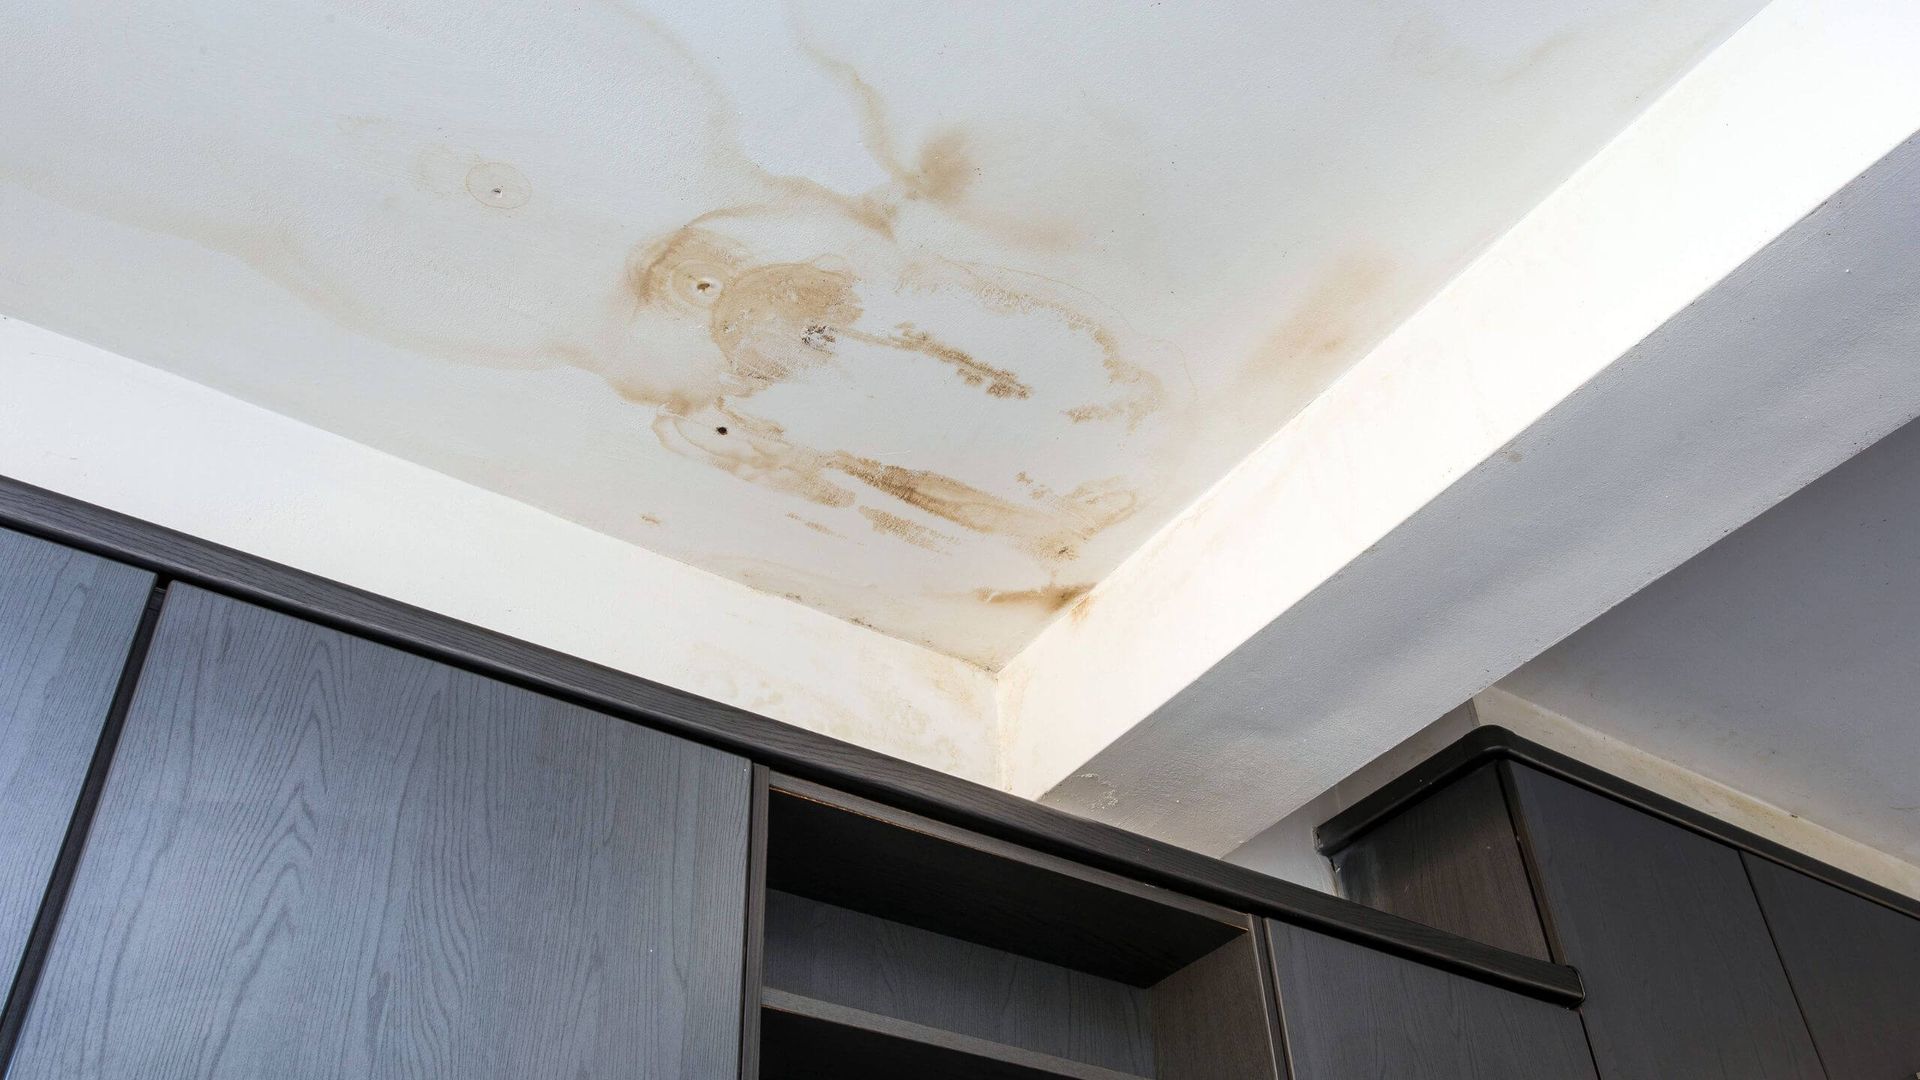
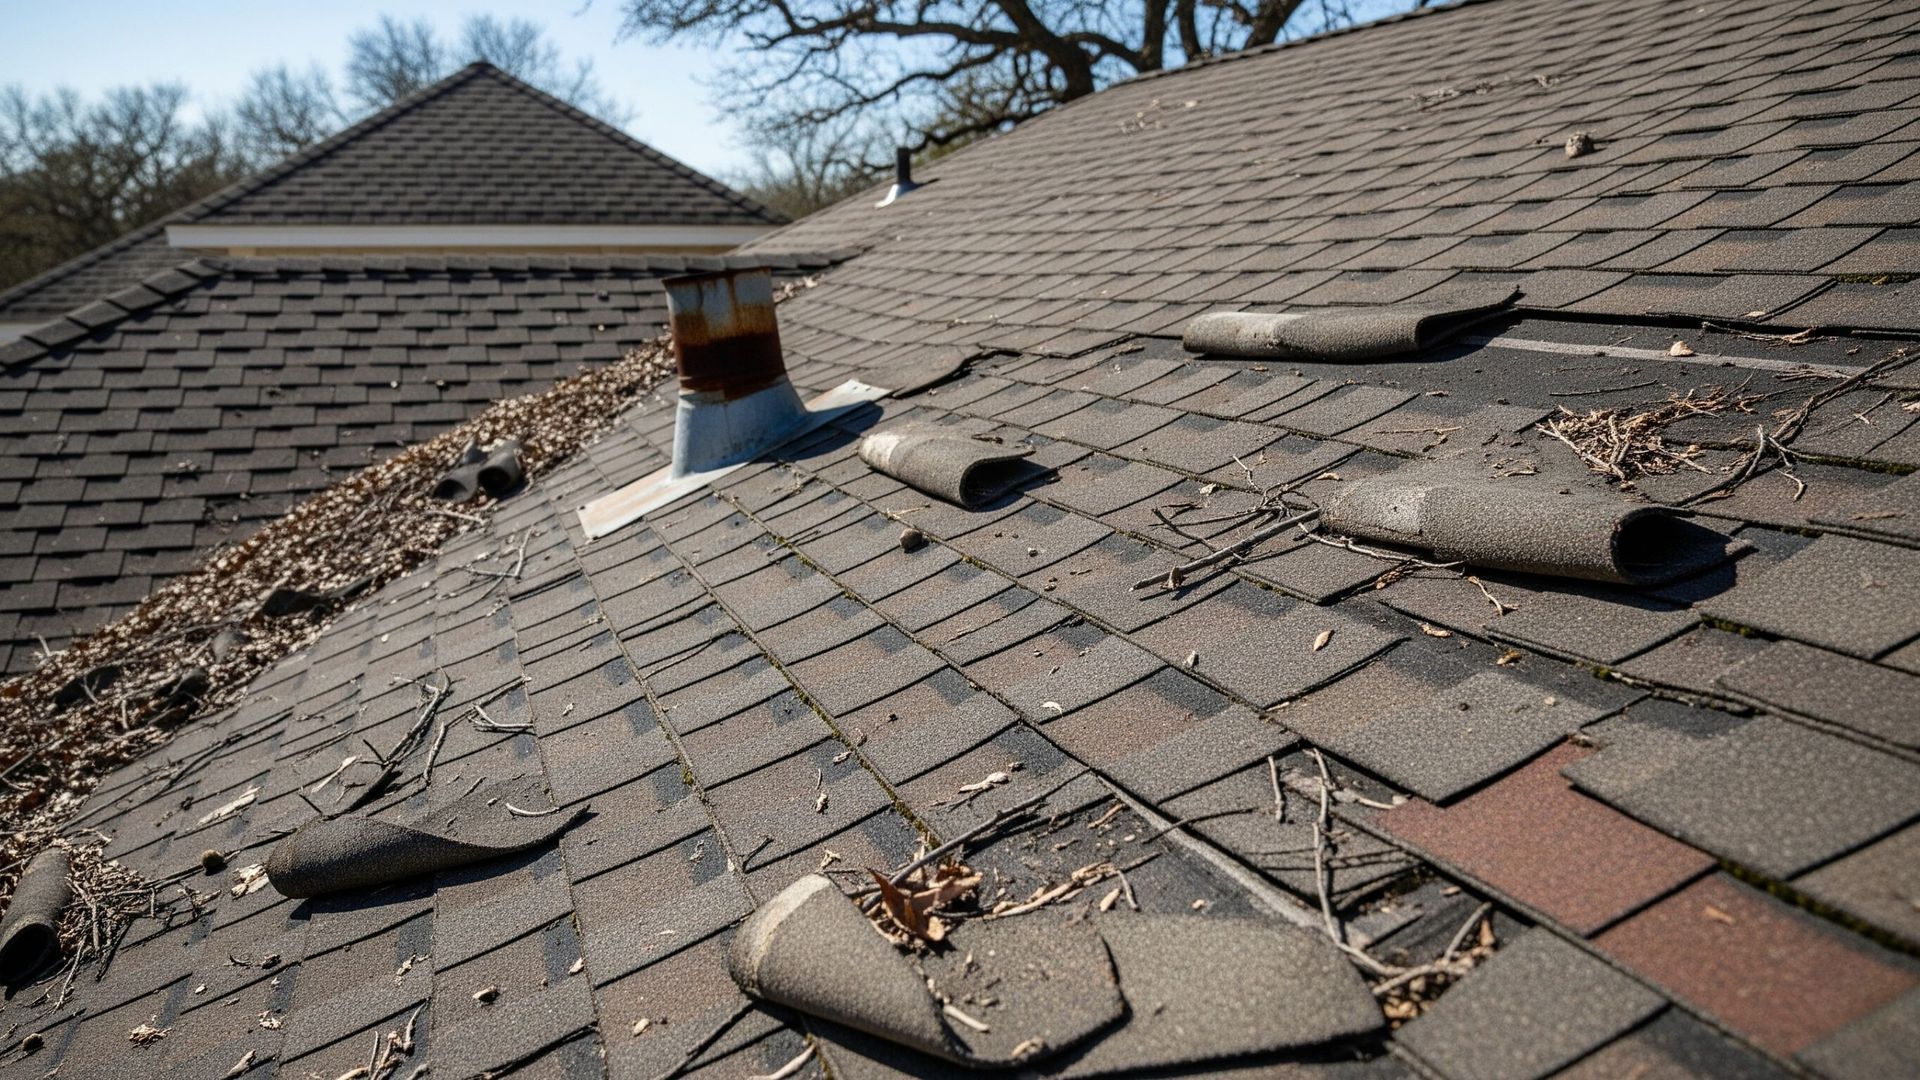
As soon as it’s safe, take clear photos and videos of the damage. Capture different angles, wide shots of the entire roof, and close-ups of affected areas.
What to document:
- Missing or broken shingles
- Tree limbs or debris on the roof
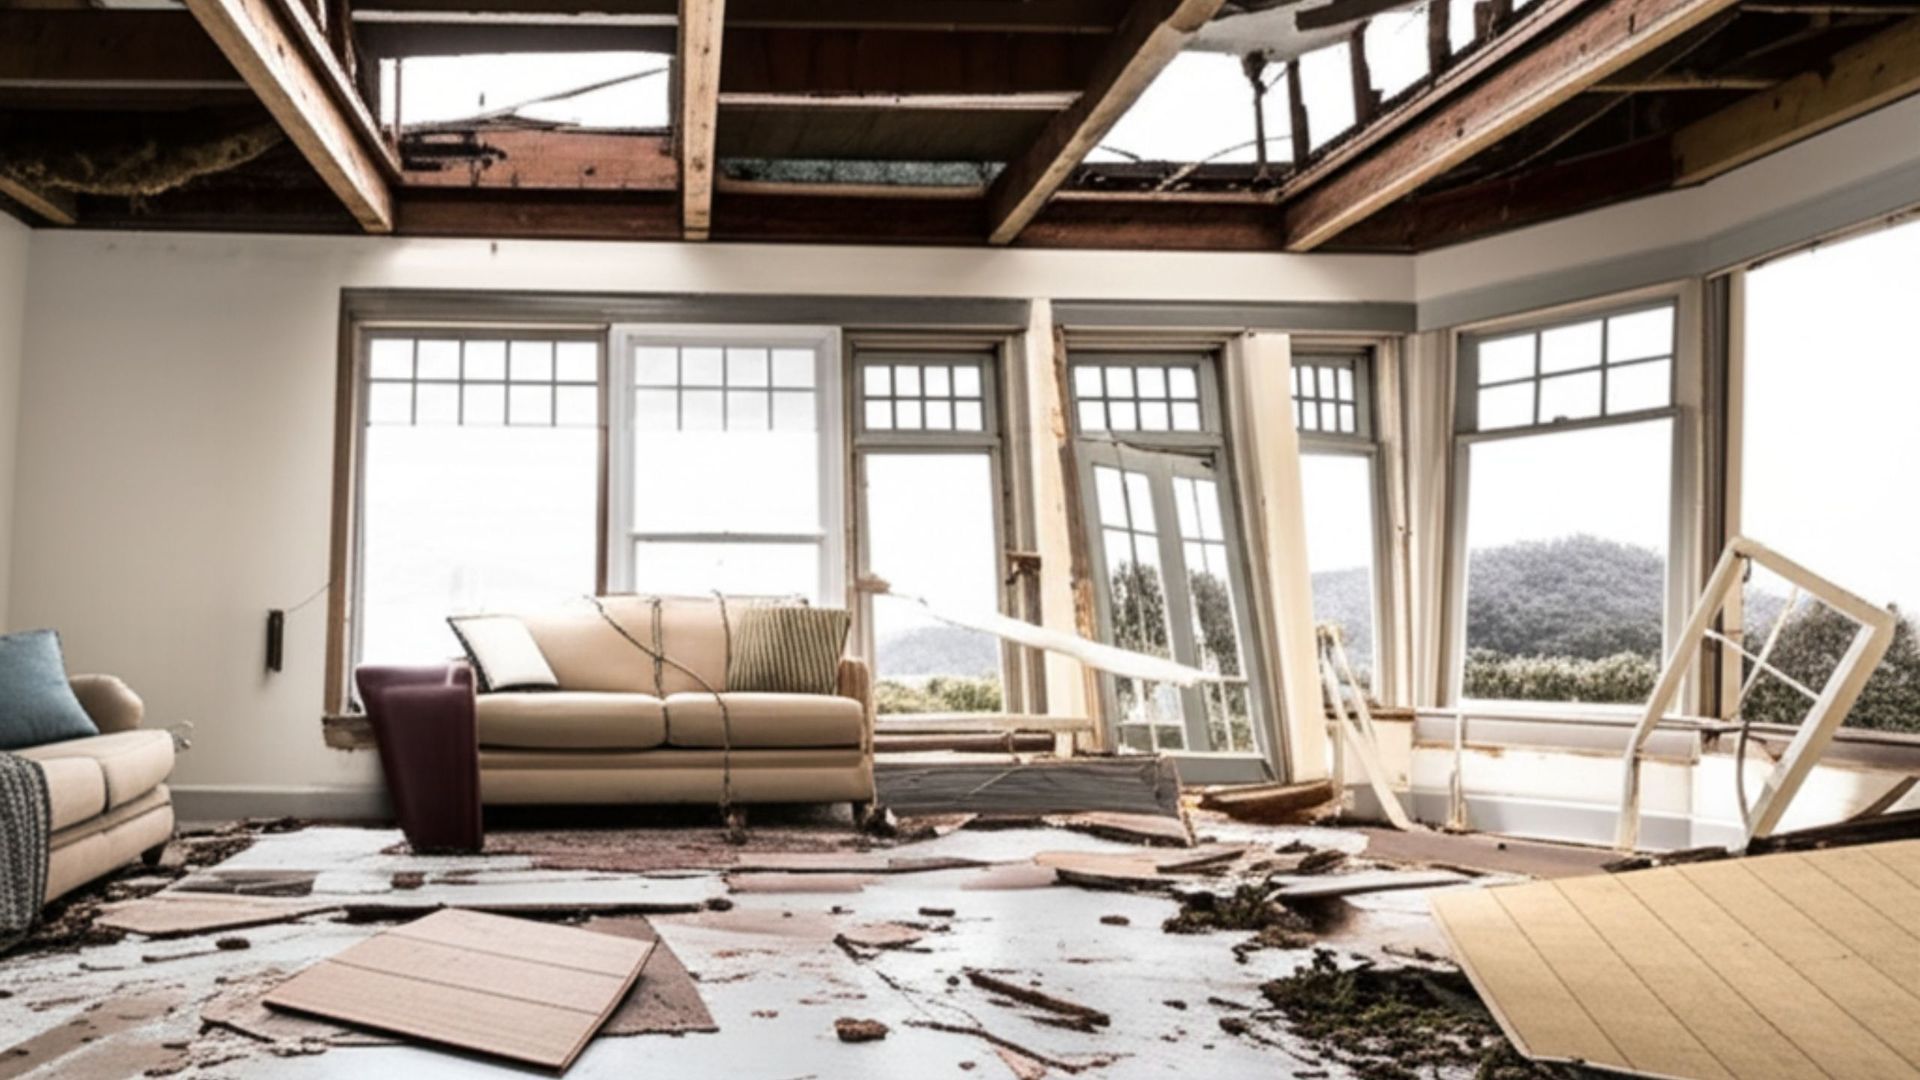
- Water stains inside your home
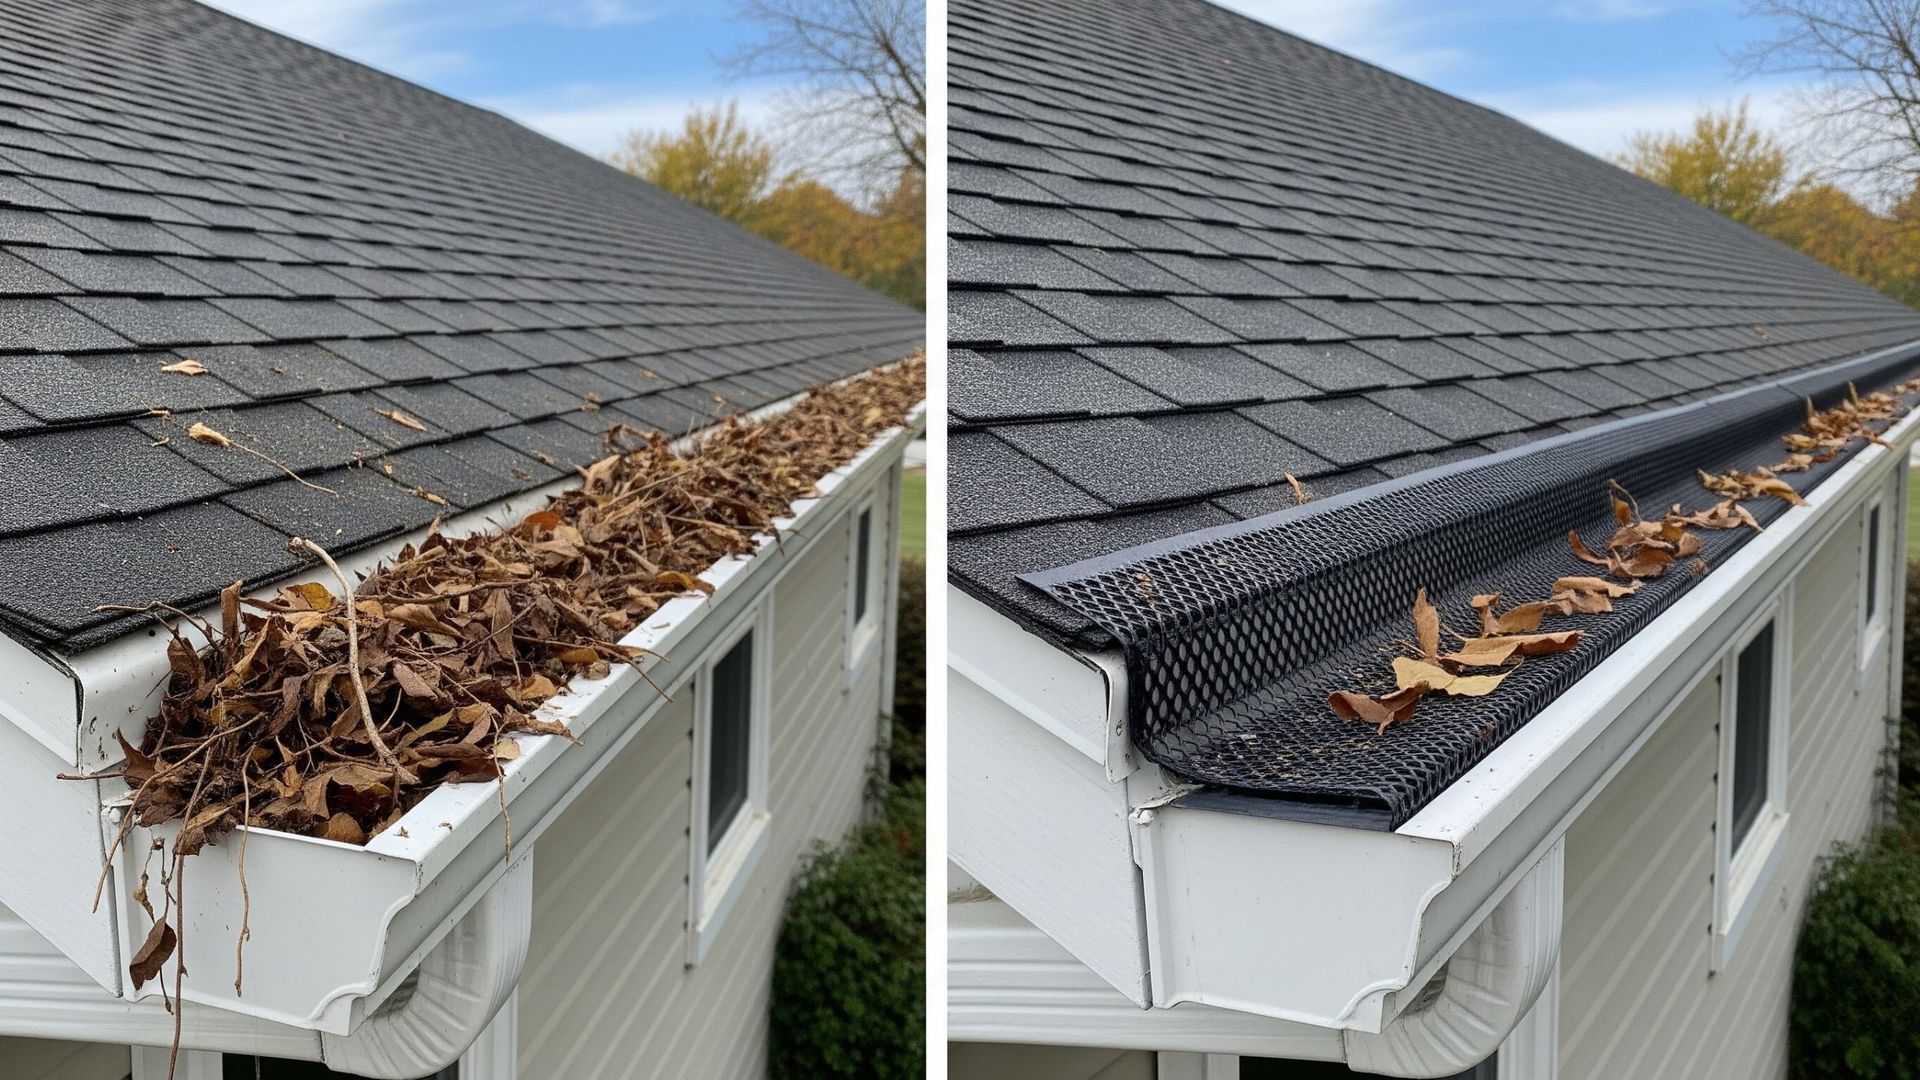
- Damaged gutters, flashing, or vents
- Any temporary tarps or emergency repairs
Pro tip:
Time-stamped photos are best. If you took “before” pictures earlier in the year, those can help prove the damage is storm-related.
Step 2: Check Your Homeowners Insurance Policy
Not all policies cover the same things. Most standard homeowners policies in Texas cover wind, hail, and storm damage, but details vary.
Look for:
- Deductible amounts (flat fee or percentage)
- Coverage for roof repair vs. full replacement
- Deadlines for filing a claim
- Requirements for temporary repairs or inspections
- If you're not sure what’s covered, call your agent, but don’t delay. Many policies require claims to be filed within a specific time window after the storm.
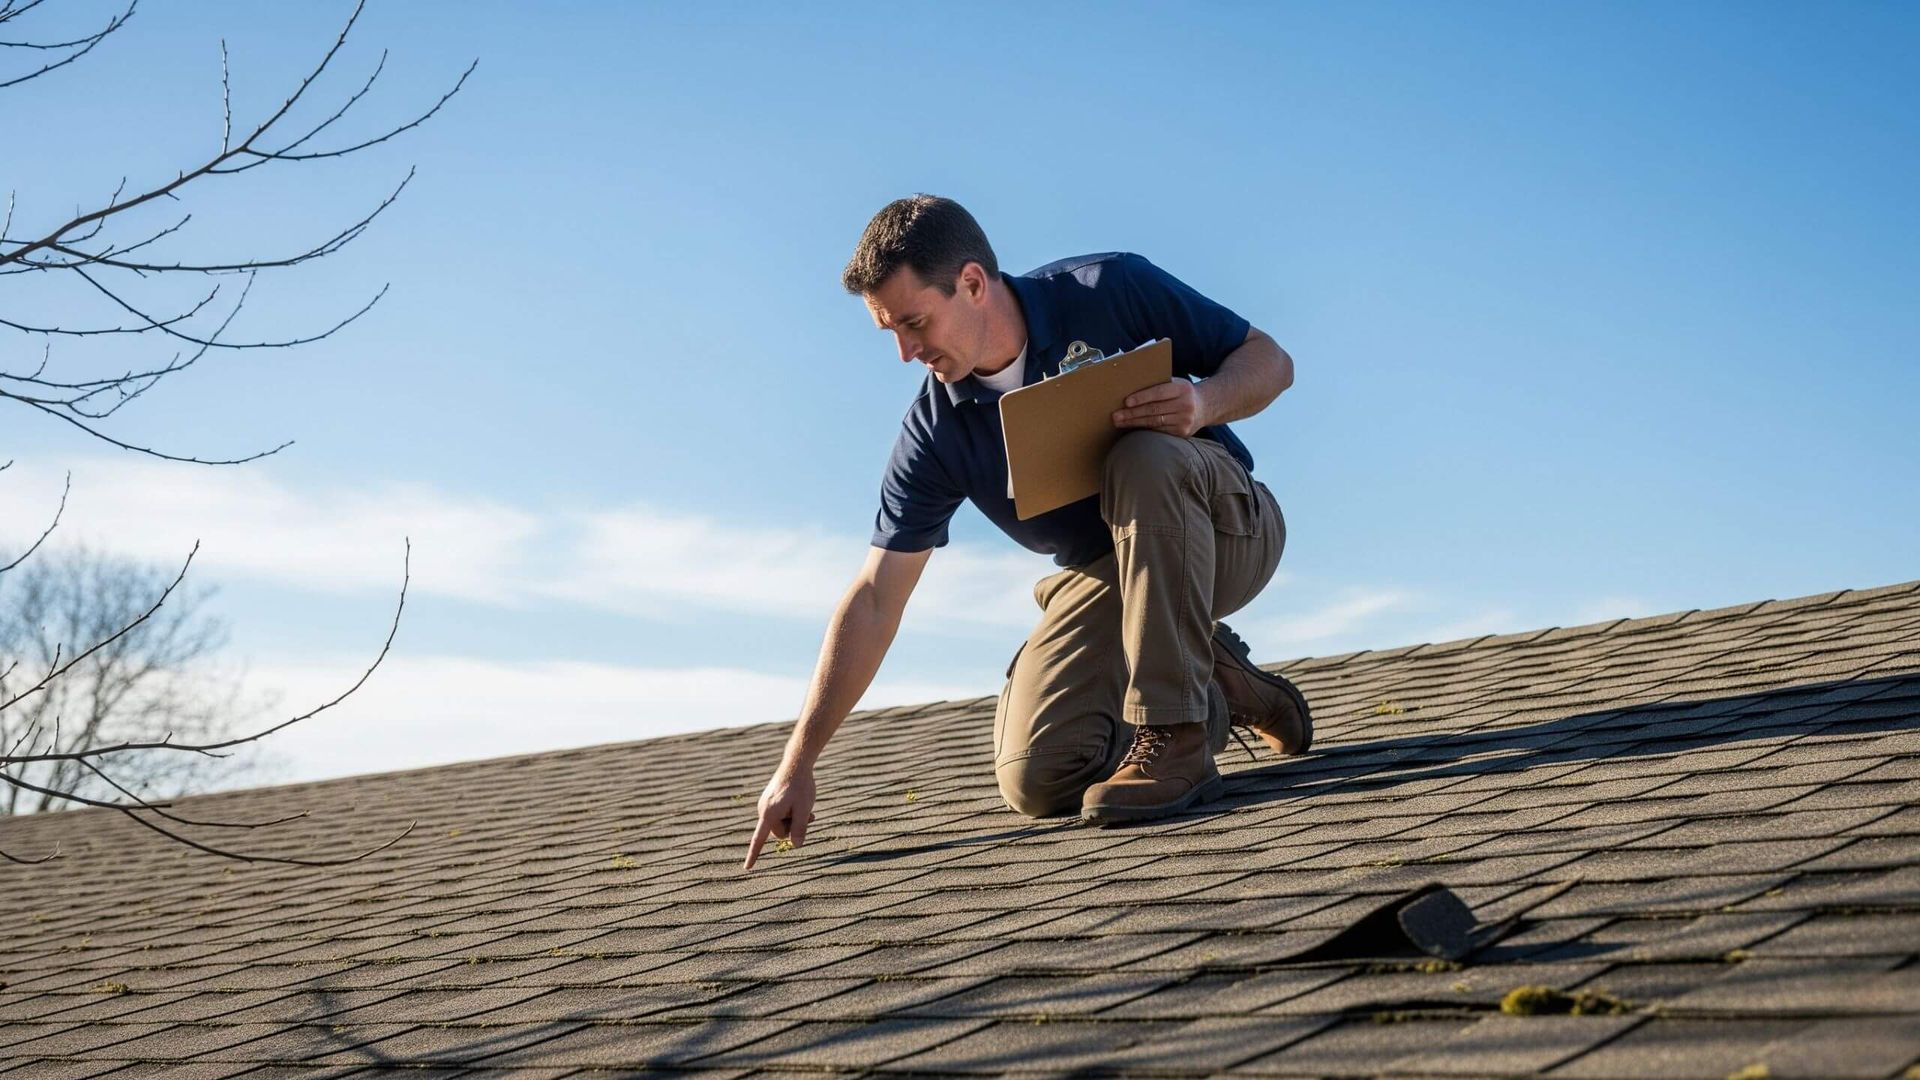
Step 3: Schedule a Roof Inspection by a Professional
Once your claim is approved, your insurance company will issue payment based on the policy and inspection findings.
Important:
- Some insurers issue partial payment upfront and release the rest after work is complete
- Review the claim carefully and ask questions before starting repairs
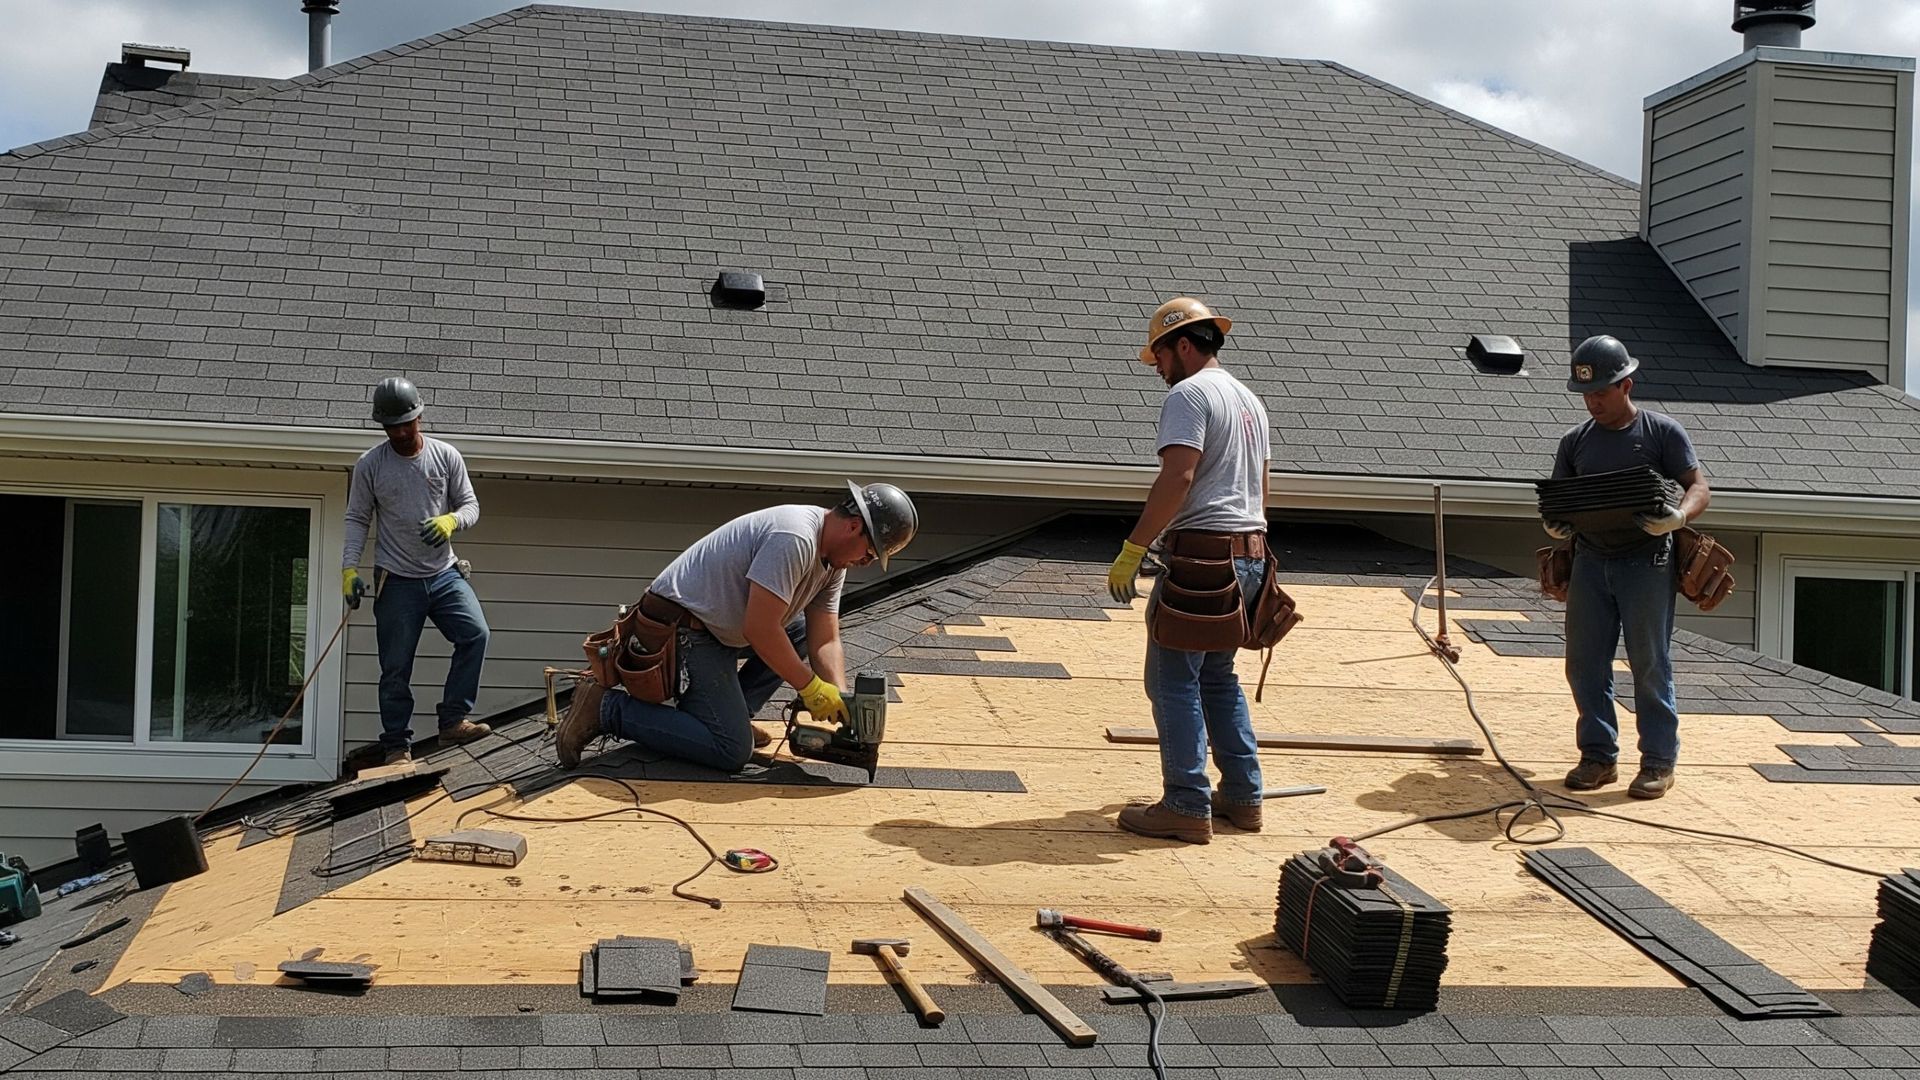
- Always work with licensed and insured roofing professionals, especially those experienced with Texas building codes and local weather patterns
- Final Tips for a Smoother Claim Process
Step 4: Contact Your Insurance Company
Once you’ve gathered documentation and inspection details, it’s time to officially file your claim. You can usually do this online or by calling your insurance company directly.
Be prepared to provide:
- Your policy number
- The date and time of the storm
- A summary of the damage
- Photos and your roofer’s inspection report
- Any emergency repair receipts
- Your insurer will assign a claims adjuster to assess the damage and determine your payout.
Step 5: Meet with the Insurance Adjuster
The adjuster may inspect your home in person or conduct a remote assessment, depending on the situation.
What to expect:
- They’ll inspect the roof and possibly the interior
- They may ask questions about timing and condition before the storm
- You can (and should) have your roofing contractor present
- Having a professional roofer on-site ensures nothing is overlooked, and helps avoid disputes over the extent or cause of the damage.
Step 6: Review the Claim and Begin Repairs

Before contacting your insurance company, have a trusted roofing contractor inspect the roof. They’ll provide a detailed damage report, and many offer this service for free.
Why this matters:
- They may spot hidden damage insurance won’t see in photos
- You’ll have an expert advocate when the adjuster arrives
- Their report can support your claim and prevent underpayment
- Choose a roofer with experience in storm damage and insurance claims — especially one familiar with Texas weather patterns and code requirements.
Act fast: Waiting can weaken your claim or increase damage.
Keep records: Save all communication, estimates, and receipts.
Stay cautious: Be wary of “storm chasers” offering fast, cheap fixes.
Think long-term: Focus on quality materials and proper installation to protect your home in the next storm.